In this page, you will learn how to remotely control a mote connected to a Raspberry Pi (or any other linux computer) with Ethernet connection.
Prerequisites
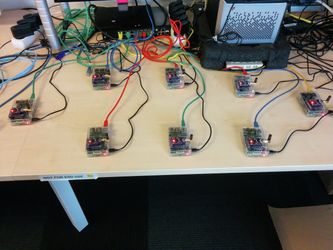
To try this feature, you need one computer, one or more Raspberry Pi and some motes.
Before trying this page, please make sure all softwares(especially the Python packages specified in requirements.txt under openwsn-sw root directory) are installed on you computer and Raspberry Pi. To do this, you can refer to Kickstart Linux.
You will also need to have OpenWSN CoAP Python Library installed on your computer and Raspberry Pi. To do so just git clone the code (https://github.com/openwsn-berkeley/coap), open a console in the coap folder and run (with sudo if needed) :
> pip install ./
Also we assume the motes already have the openwsn firmware code loaded.
Setup
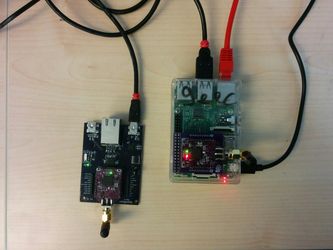
- Connect your Raspberry Pi to the network (preferably using ethernet, wifi works too but may cause interferences with your motes radio signals). Make sure you remember its IP address (v4/v6).
To setup the communication between the raspberry pi and your computer you will need to have port 5683 opened on the Raspberry Pi side and port 50000 opened on your computer and on the Raspberry Pi. Make sure that no firewall is blocking them. - Connect your motes to the Raspberry Pi (through USB or GPIO pins)
Play
On Raspberry Pi, open a terminal and type the following command
> cd openwsn-sw/software/openvisualizer
> sudo scons runrover
On your computer, open a terminal and type the following command
> cd openwsn-sw/software/openvisualizer
> scons runweb --rover
open your favorite browser and type in: localhost:8080 in the address box.
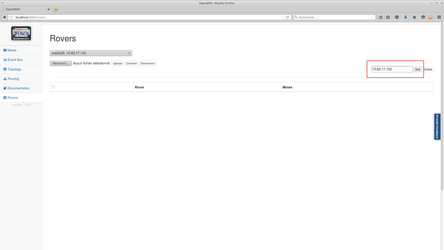
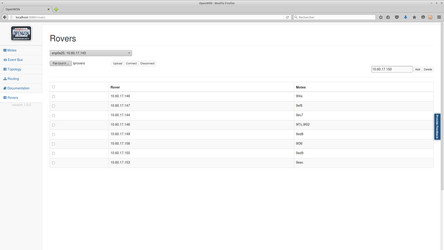
- Go to Rover tab and choosing the interface to be connected with Raspberry Pi
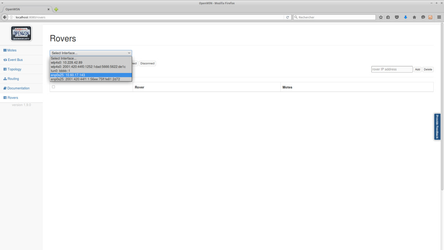
- For each Raspberry Pi you want to add type in the raspberry address in the rover and click "Add", (or select a text file containing a list of Raspberry Pi IP addresses separated by "," and press "Upload")
 or :
or : 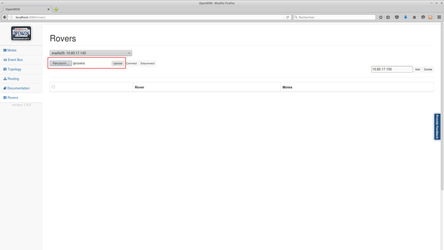
- Once you have entered all your Raspberry Pis IP addresses on the page press "Connect" (no need to select them, the select boxes are used to delete or disconnect IPs from the list). The ID of the motes connected to each Raspberry Pi should appear.
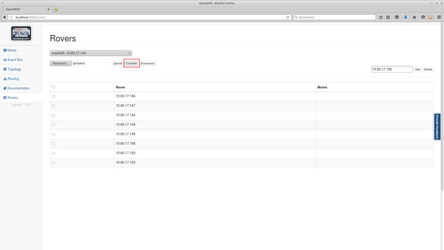 and then :
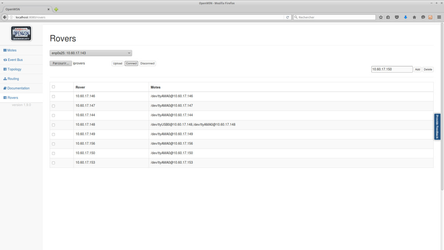
- After a few seconds the ID should be updated to the last four bytes of the mote EUI-64
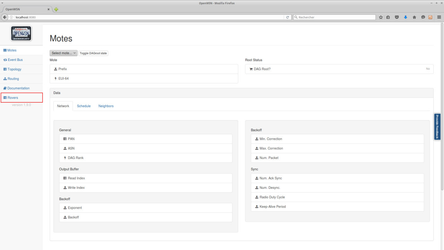
- Go to Mote tab and pull down the mote list, then you can see all mote connected with Raspberry Pi showing in your local computer.
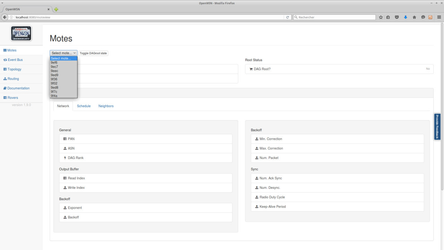
- Choosing one mote and click "toggle" to start the network. Done!