...
Open http://127.0.0.1:8080/ shows the web interface of the OpenVisualizer.
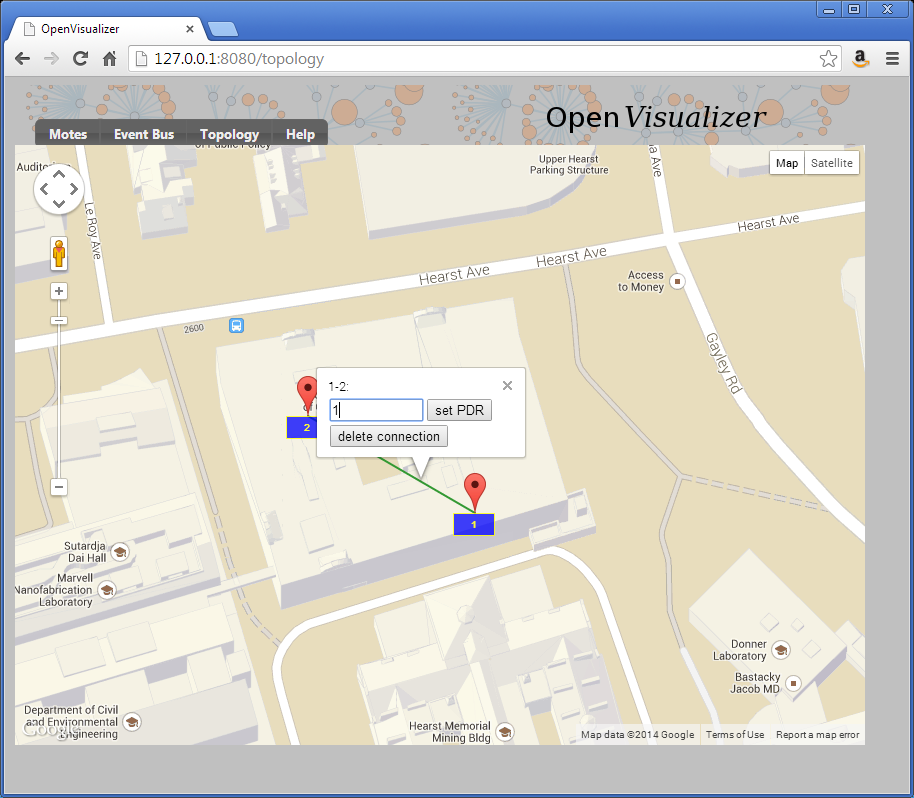
Edit the topology
Start by editing the topology so the two nodes are connected through a perfect wireless link (PDR=1).
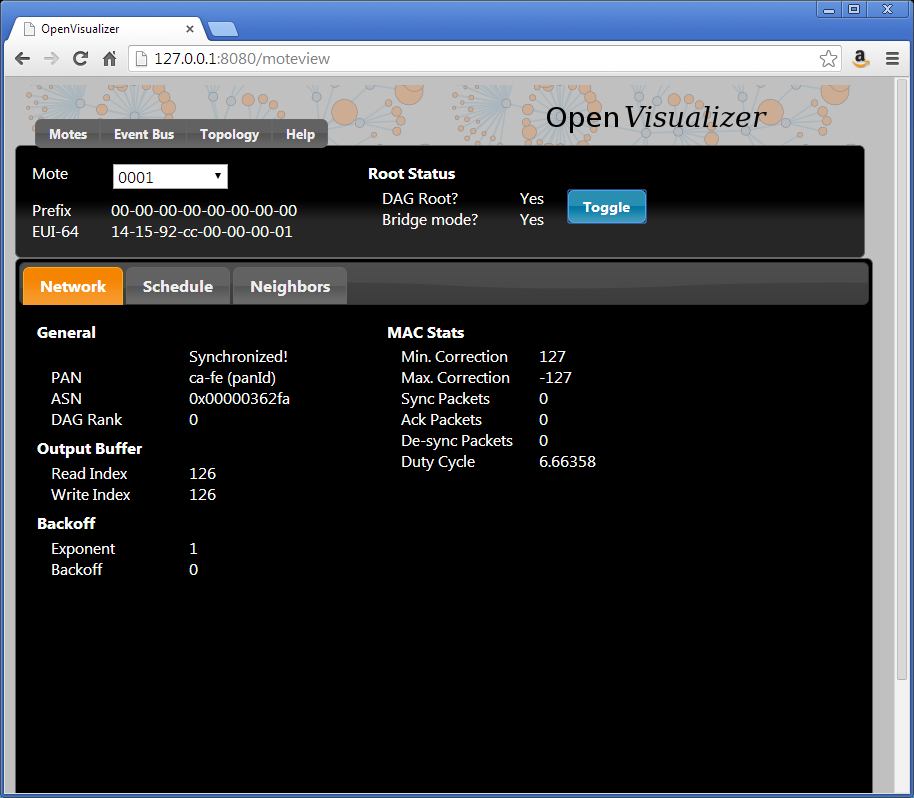
Start the network
You can now click the "Toggle" button so mote 1 becomes the DAGroot of the network. Mote 2 will synchronize to it, and RPL will set up the routing structure.
Ping a mote
To verify connectivity, you can ping mote 2
| Code Block |
|---|
C:\Users\Thomas>ping bbbb::1415:92cc:0:2


Pinging bbbb::1415:92cc:0:2 with 32 bytes of data:
Reply from bbbb::1415:92cc:0:2: time=50ms
Reply from bbbb::1415:92cc:0:2: time=67ms
Reply from bbbb::1415:92cc:0:2: time=65ms
Reply from bbbb::1415:92cc:0:2: time=59ms


Ping statistics for bbbb::1415:92cc:0:2:
    Packets: Sent = 4, Received = 4, Lost = 0 (0% loss),
Approximate round trip times in milli-seconds:
Minimum = 50ms, Maximum = 67ms, Average = 60ms |
CoAP discovery
By default, mote 2 is a CoAP endpoint. To see the resources it has, you can install the Copper plugin for Firefox and navigate to the coap://[bbbb::1415:92cc:0:2]:5683/.well-known/core URI.
...
| Code Block |
|---|
</6t>,</.well-known/core>,</l>,</i> |
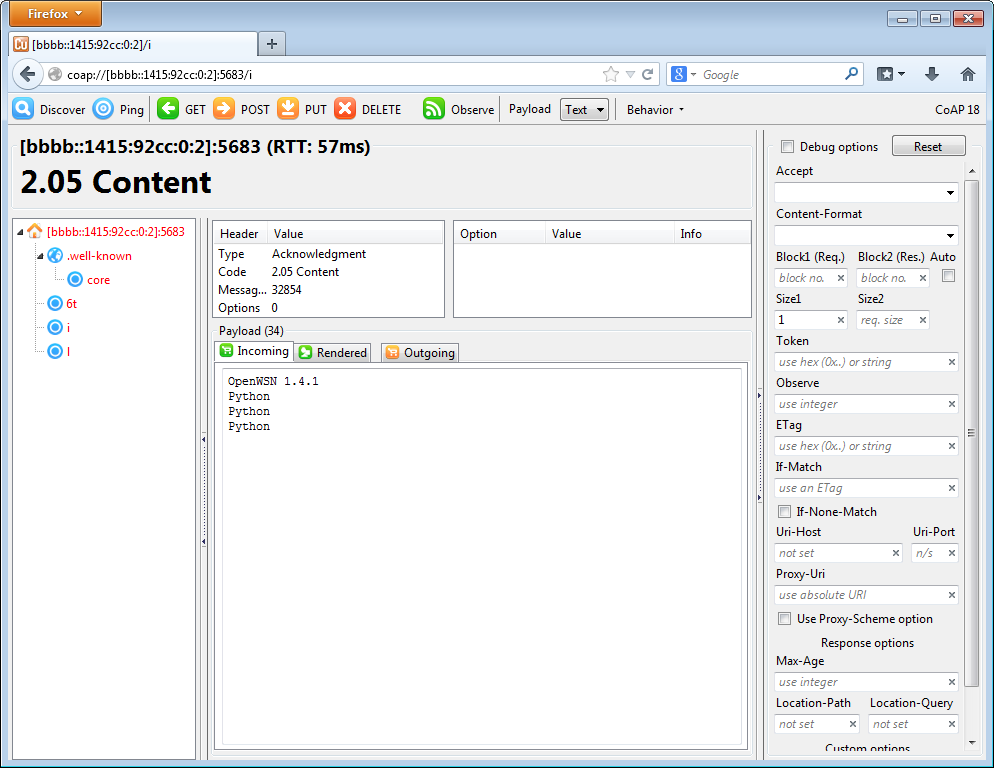
Getting information about the board
Doing a CoAP GET on /i resource gives you information about the board itself, including the firmware version, the micro-controller and radio used. Since the mote is emulation, it returns "Python" for latter.
Interact with an LED
You can also interact with the debug LED of the mote. This is done through the /l CoAP resource:
...
Running it shows that the LED was first OFF, then ON.
| Code Block |
|---|
0 1 |
Next steps
Follow the Adding a CoAP app tutorial to add your own app.