If you are completely new to OpenWSN, and you are using Linux, read this page first. It will walk you through all the steps to install OpenWSN and explore a number of key features.
...
| Tip | |||||||||||||||||
|---|---|---|---|---|---|---|---|---|---|---|---|---|---|---|---|---|---|
| |||||||||||||||||
Before you can go on, you need to install some Python packages:
Or install them simple with one command.
PySerial is also required and it's available in Debian/Ubuntu. you need to install the PySerial if it's not installed on your machine.
|
...
In simulation mode, the openvisualizer takes care of simulating the wireless medium. You can use Wireshark to take a peek at what goes over this simulated radio space.
...
| title | Oops! |
|---|
Before you can go on, you need to install wireshark 6tisch dissector. The source code and installation instruction can be found at here. For quick installation, you can download this wireshark installation script and execute it with following command:
...
| language | bash |
|---|
...
You can download the Wireshark from https://www.wireshark.org/download/automated/ and install with default configuration.
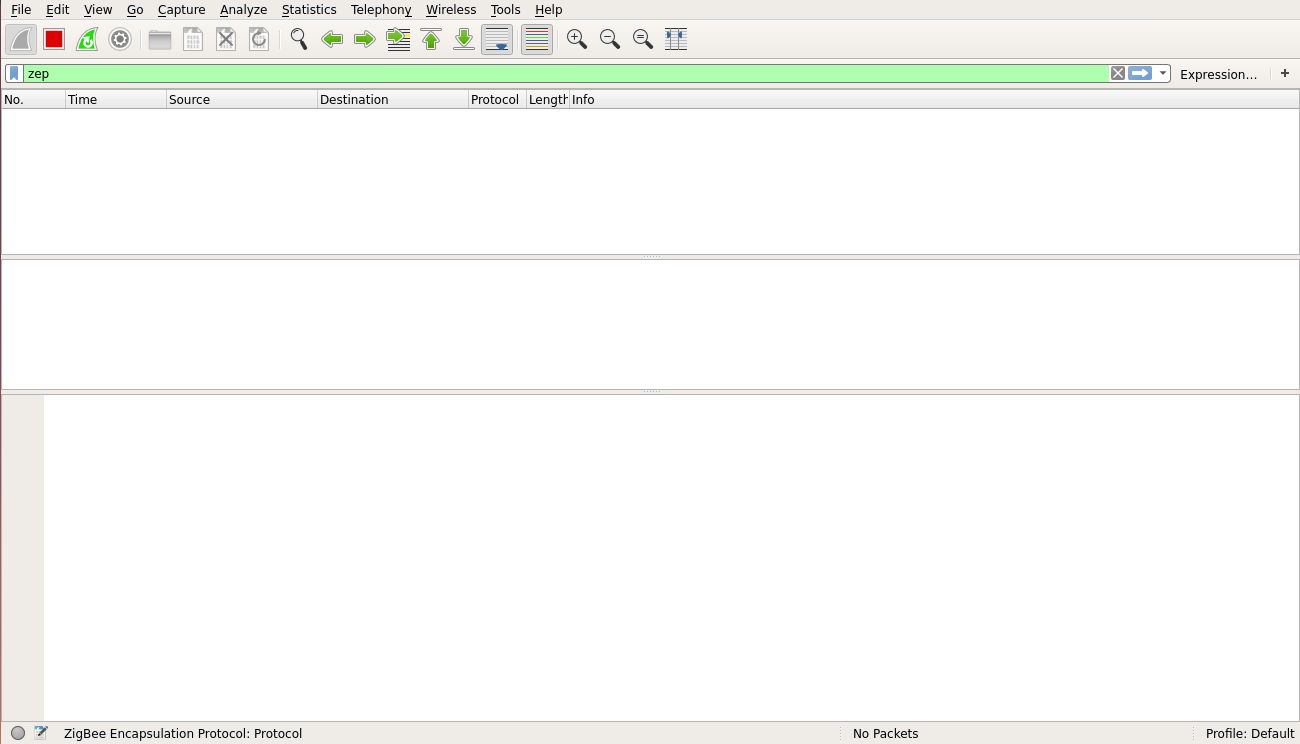
Start Wireshark on the tun interface at address bbbb::1, and configure the filtering for zep (the ZigBee encapsulation protocol).
| Note | |||||
|---|---|---|---|---|---|
You need to start Wireshark with "sudo":
|
For now, you don't see any packets, that's normal:
In the OpenVisualizer's "Event bus" tab, check the "Wireshark debug" box.
...
You now see all the packets exchanged over the simulated radio environment, exciting!
...
- join the Mailing List.
- asks questions through the questions plugin.
- submit bugs and feature requests through the issue tracker.
AttributeError: 'Requirement' object has no attribute 'project_name'